How to Program a Garage Door Remote (LiftMaster, Chamberlain, Genie)
The Short Answer
To program a garage door remote on most LiftMaster and Chamberlain openers, press and release the Learn button on the motor unit, then within 30 seconds press and hold the button on your remote until the opener’s light flashes or clicks. Genie openers work the same way in principle: press the Learn or Program button until its indicator lights, then press the remote button (some models twice). Before you start, check the Learn button colour on LiftMaster and Chamberlain units, because the remote has to match the opener’s radio technology.
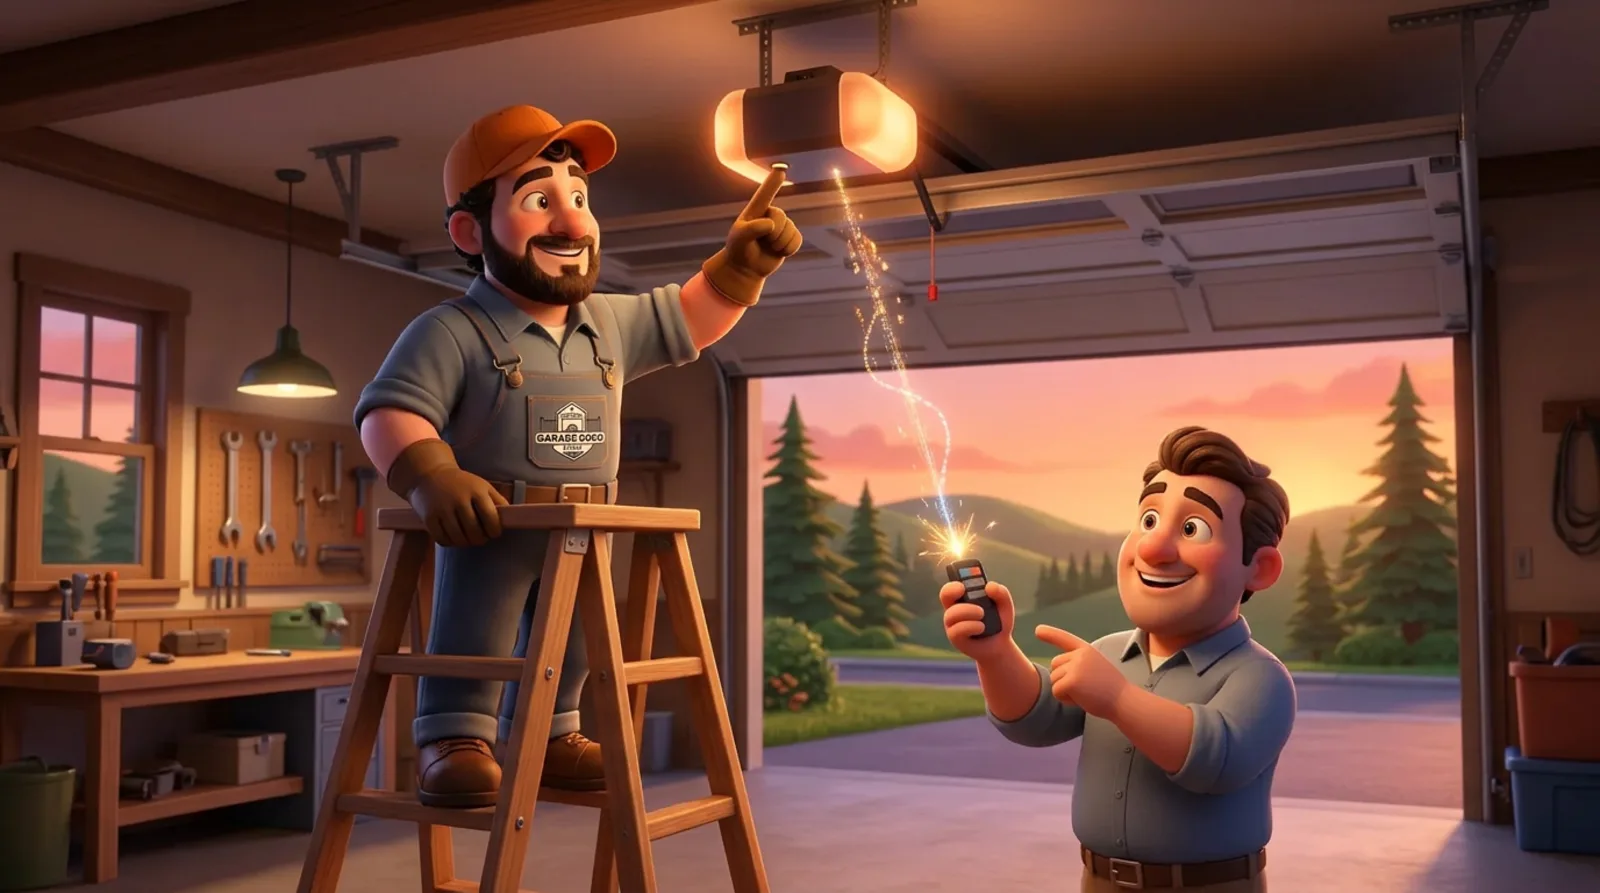
Programming a remote takes a couple of minutes once you know where to look. The main thing to be careful about is getting to the opener safely, since it usually means a step ladder in a garage with a door that will start moving.
Before you start
- Use a stable step ladder and keep the area under the door clear. When the remote pairs, the door may move.
- Put a fresh battery in the remote. A weak battery is the most common reason pairing fails.
- Find the Learn button. On most openers it is on the back or side of the motor unit, near the antenna wire, often under the light cover.
- Note the button colour (LiftMaster and Chamberlain) or the model number on the label (Genie). This tells you which remotes are compatible.
- Turn off lock or vacation mode on the wall control if your opener has one, since it blocks remotes.
LiftMaster and Chamberlain: step by step
LiftMaster and Chamberlain are made by the same company, so the process is the same.
- Press and release the Learn button on the motor unit. Do not hold it. The small indicator light next to it glows steadily for about 30 seconds.
- Within those 30 seconds, press and hold the button on your remote that you want to use.
- Release it when the opener’s main light flashes or you hear two clicks. On some models the indicator light simply goes out.
- Step away and press the remote button to test. The door should open or close.
- Repeat for each remote, one at a time.
What the Learn button colour tells you
| Learn button colour | Technology | Typical era |
|---|---|---|
| Yellow | Security+ 2.0 | Roughly 2011 to today |
| Purple | Security+ (315 MHz) | Roughly 2005 to 2014 |
| Red or orange | Security+ (390 MHz) | Roughly 1997 to 2004 |
| Green | Billion Code | Roughly 1993 to 1996 |
A remote must support your opener’s technology. Many current LiftMaster and Chamberlain remotes and universal remotes cover several colours, but some do not, so check before buying.
Genie: step by step
Genie openers vary more between models, but most follow this pattern:
- Find the Learn or Program button on the motor unit, usually near the light lens or on the side panel.
- Press and hold it until the indicator light (often purple or blue) comes on, then release.
- Press the remote button you want to use. On many Genie models you press it, wait for the light to change, then press it again.
- When the indicator flashes or goes out, the remote is programmed. Test it from a safe distance.
If these steps do not work, check the label on the motor unit for the model number and look up its instructions, since some older Genie openers use DIP switches inside the remote instead of a Learn button.
Erasing lost or old remotes
If a remote has gone missing, or you have just moved into a home, clear the opener’s memory so nobody else can open your garage. On most LiftMaster and Chamberlain openers, press and hold the Learn button for about six seconds until the indicator light goes out. That erases every remote and wireless keypad. Then reprogram the ones you still have. Genie openers have a similar memory-clear procedure, usually by holding the Learn button longer.
Clearing old codes matters more with older openers, especially fixed-code systems. Our guide to rolling-code vs. fixed-code remotes explains why upgrading an old fixed-code opener is worth considering.
When a remote will not pair
- Dead or weak battery. Replace it first, every time.
- Incompatible remote. The remote does not support your opener’s technology (check the Learn button colour).
- Lock or vacation mode on. Turn it off at the wall control.
- Took too long. Press the remote within 30 seconds of pressing Learn.
- Memory full. Most openers store a limited number of remotes; clear the memory and reprogram.
- Interference. LED bulbs in the opener and some nearby electronics can reduce remote range. If a remote works only up close, see our guide to remotes that only work sometimes.
Remotes in Mission: moisture and range
Remotes have a hard life in the Fraser Valley. They ride in damp cars, rainy coat pockets, and cold cupholders, and moisture gradually corrodes the battery contacts and circuit board. A remote that has started working only up close, or only on the second or third press, is often on its way out. Across Mission and the rest of the valley, replacing a tired remote with a new compatible one is usually quicker and cheaper than chasing intermittent faults.
A replacement remote with programming typically runs about $50 to $120, and a weather-sealed wireless keypad by the door is a handy backup for the days a remote goes missing. When a remote is lost, remote replacement includes clearing the old codes so the missing one can no longer open the door.
Let a technician handle it
Not sure which remote fits your opener, or the pairing just will not take? , call (778) 201-5640, or . A technician can identify your opener, match a compatible remote or keypad, clear old codes, and program everything in one short visit.
Frequently Asked Questions
How do I program a LiftMaster or Chamberlain garage door remote?
Find the Learn button on the back or side of the opener's motor unit. Press and release it once; the indicator light next to it glows for about 30 seconds. Within that time, press and hold the button on your remote until the opener light flashes or you hear a click, then release. Test the remote from a safe distance.
What does the colour of the Learn button mean?
On LiftMaster and Chamberlain openers, the Learn button colour shows which radio technology the opener uses: yellow for Security+ 2.0 (roughly 2011 onward), purple (about 2005 to 2014) and red or orange (about 1997 to 2004) for older Security+ models, and green for Billion Code units from the mid-1990s. A replacement remote must be compatible with that colour.
How do I program a Genie garage door remote?
Most Genie openers have a Learn or Program button on the motor unit. Press and hold it until the indicator light comes on, then press the remote button (some models ask you to press it twice) until the light changes or flashes. Steps vary by model, so check the label on the opener or the manual if it does not pair.
How do I erase lost garage door remotes?
On most LiftMaster and Chamberlain openers, press and hold the Learn button for about six seconds until the indicator light goes out. That clears every remote and wireless keypad paired to the opener. Then reprogram the remotes you still have. Do this whenever a remote is lost or stolen, or you move into a new home.
Why won't my garage door remote program?
Common reasons are a dead remote battery, a remote that is not compatible with the opener's radio technology, the opener's lock or vacation mode being on, waiting too long after pressing Learn, or the opener having reached its memory limit. Fresh batteries and checking compatibility fix most cases.
How much does it cost to replace and program a garage door remote?
A replacement remote with programming typically runs about $50 to $120 installed. Weather-sealed wireless keypads typically run $80 to $150, and Wi-Fi smart modules $100 to $200. A technician can identify your opener and match a compatible remote on-site.